Ubuntu 搭建SVN服务器(SVN Server)
一、检查基本信息
安装SVN服务器之前 查看一下是否已经安装了 查看命令 svn
//显示下面的话就是已安装了
root@ubuntu:~# svn
Type 'svn help' for usage.
当然下面这样就是没有安装了:
Command 'svn' not found, but can be installed with:
apt install subversion
如果安装了 可以使用下面的命令删除
apt-get remove --purge subversion二、安装SVN
安装前先更新一下apt
apt-get update执行安装指令
apt-get install subversion安装完成的部分代码:
....
Preparing to unpack .../subversion_1.9.7-4ubuntu1_amd64.deb ...
Unpacking subversion (1.9.7-4ubuntu1) ...
Setting up libapr1:amd64 (1.6.3-2) ...
Setting up libaprutil1:amd64 (1.6.1-2) ...
Setting up libserf-1-1:amd64 (1.3.9-6) ...
Setting up libsvn1:amd64 (1.9.7-4ubuntu1) ...
Setting up subversion (1.9.7-4ubuntu1) ...
Processing triggers for libc-bin (2.27-3ubuntu1.3) ...
Processing triggers for man-db (2.8.3-2ubuntu0.1) ...
root@ubuntu:~#
安装好之后 查看是否安装成功
svnserve --version如下图 显示版本信息 表示安装成功
root@ubuntu:~# svnserve --version
svnserve, version 1.9.7 (r1800392)
   compiled Mar 28 2018, 08:49:13 on x86_64-pc-linux-gnu
Copyright (C) 2017 The Apache Software Foundation.
This software consists of contributions made by many people;
see the NOTICE file for more information.
Subversion is open source software, see http://subversion.apache.org/
The following repository back-end (FS) modules are available:
* fs_fs : Module for working with a plain file (FSFS) repository.
* fs_x : Module for working with an experimental (FSX) repository.
* fs_base : Module for working with a Berkeley DB repository.
Cyrus SASL authentication is available.
三、创建SVN版本库
进入 cd /usr 文件
mkdir svn
进入 cd /svn
创建版本库文件夹
mkdir repository
给 repository 权限 chmod -R 777 /repository
创建svn仓库
svnadmin create /usr/svn/repository
执行命令后,会在repository下生成以下文件:
conf db format hooks locks README.txt对db进入权限设置
chmod -R 777 db四、设置访问权限
修改配置文件conf/svnserve.conf
cd /conf
vi svnserve.conf
[general]
anon-access = none      #匿名权限
auth-access = write     #授权用户有写权限
password-db=passwd      #指定账号文件
auth-db=authz           #指定权限控制文件
添加访问用户
vi passwd
用户名 user1 密码 123456
[users]
user1=123456        #用户名=密码
设置用户权限
vi authz
#在[group]中添加用户组
[group]
admin = user1,user2,user3

#在[/]中给刚刚的组添加权限
[/]
@admin = rw对以上进行解释:admin = user1 //用户属于admin权限组@admin = rw //admin权限组的权限是读和写* = r 所有的组都具有读权限
五、测试服务器
启动SVN服务器
svnserve -d -r /usr/svn/-d:表示在后台运行-r:指定服务器的根目录
查看是否启动成功
ps aux | grep svnserve如下图 成功启动
停止服务器
killall svnserve如下图 说明已经关闭了
这样访问服务器时就可以直接用”svn://服务器ip/repository”来访问了。
注意打开 3690 端口六、连接服务器
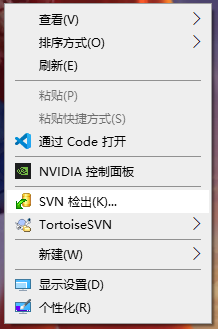
win10远程连接SVN服务器
安装好SVN客户端后
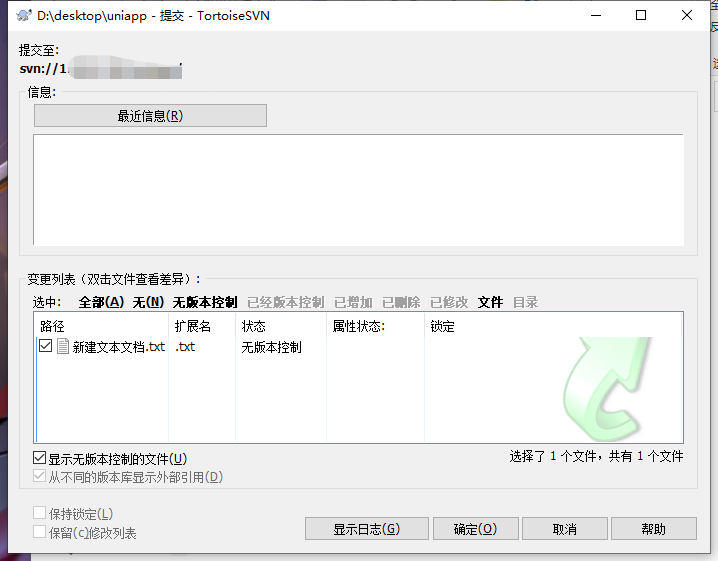
测试 上传一个文件
会提示输入账号密码
到这里就完美部署好了。
参考转载:https://blog.csdn.net/zengsange/article/details/80618301


